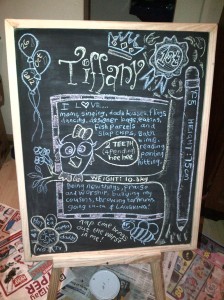
This project was a beginner’s D.I.Y attempt. I’m not particularly crafty (ha!) but every now and then I have the opportunity to be challenged creatively. Also, please note, I am not particularly good at photo taking and photo adding. I tried.
This craft challenge was a request from a close friend, for her gorgeous soon to be 1-year-old. It’s something I’ve never done before, so thought (and it was suggested) that I could blog about it.
It was a fairly simple process, so I’ll attempt to blog it simply. I use the term “blog it simply” fairly loosely here.
Step 1: Get a brief idea of the vision
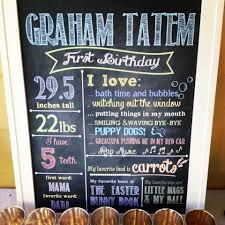
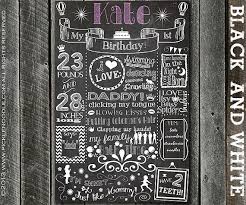
- My friend forwarded me some pictures for an idea of the project (thanks google).
- I also asked some of my art/craft/design inclined friends for some ideas. Ok, it was 1 friend, but still very helpful.
Step 2: Materials
What I ended up needing:
- A huge chalkboard.
- Black chalkboard paint.
- A paintbrush.
- Chalk.
- Paper.
- Pencil.
- Tape.
- Newspaper.
I called around and checked out some of the materials I thought I might need, as well as the costs compared to my budget. This included 2 craft shops and 1 hardware store.
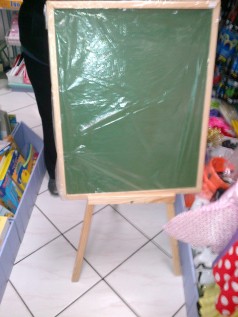
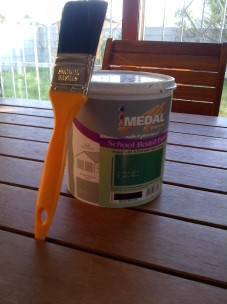
(I’m sure we can all use some imagination for the other needed items)
Step 3: Put tape around the edges (optional)
- I put tape along the frame to avoid paint getting on the wooden frame.
- If you’re a professional, you probably paint like a ninja and don’t need tape.
- I tend to be a cluts sometimes, so tape the edges, I did.
Step 4: Two coats of Black Chalkboard paint
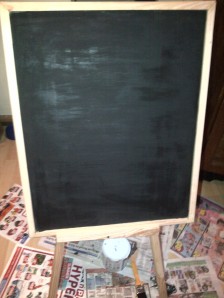
- The board was initially green (as seen on the picture), which isn’t particularly a problem, however my heart (based on my friend’s “vision”) was set on black.
- I painted the second coat (technically my sister helped me paint, just to keep it honest) a day after the first coat. This was to allow drying time.
- Also, the first coat was painted vertically, and the second horizontally. The difference this makes, I don’t actually know, so whom I kidding, just make sure it’s black.
Step 5: Doodles (time and place is optional)
- During bored moments at work I doodled some ideas for the chalkboard.
- If you are somewhat artistically challenged, I can think of 2 options:
- Ask a friend for help.
- Google is your friend. Finding simple fun images for ideas to half copy or play around with shouldn’t be too hard. Just don’t get in trouble for copying and saying it belongs to you. That’s just wrong.
Step 6: Ask for a few opinions. (Optional)
- This step is tricky, simply because everyone has a different opinion.
- I usually go with my gut, what I feel is right, but because I wasn’t 100% sure, I listened to some thoughts of others on my doodle designs.
Step 7: Choose a design and rough draft it (Optional – the rough draft part)
- Once the board was completely dry, I drew the chosen design lightly on the board with chalk just to get an idea of how I would best utilise the space on the board.
- I think for a craft ninja this step could be tossed. Obviously, I’m not a ninja.
- Please note, if you’re not a fan of a chalky chalk board, then a rough draft should possibly not be done. The ‘rough draft’ chalk (obviously) takes away from the pure black you start with when you first paint. Just thought I’d throw that in there.
Step 8: Chalk it up.
After being satisfied with my pre-design, I cleaned the board and did the final design. Yes, I did it twice.
Well, that was fun!
Craft Rating
- Effort it took: 6/10
- Fun factor: 8/10
- Cheap factor: 6/10 depending on budget
- Skill factor: little to medium skill, so 5/10
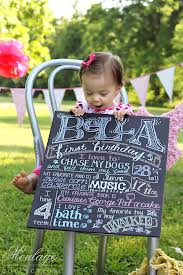
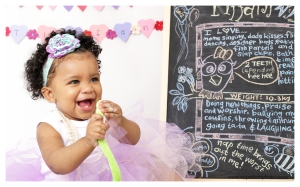
- Outcome satisfaction: 9/10 (because look at that adorable face?!)
(This picture was clearly not taken by me. I have asked permission though. Ask and you will receive… the name of the photography professionals)
Perhaps in future, I’ll attempt more crafty things and blog about it, who knows I could become the next craft ninja.
Happy Friday!
